


How to Add A Logo To Your Knife
This is just a quick explanation on how to add a logo to your knife. It’s actually pretty simple and inexpensive. There are only a few things required.
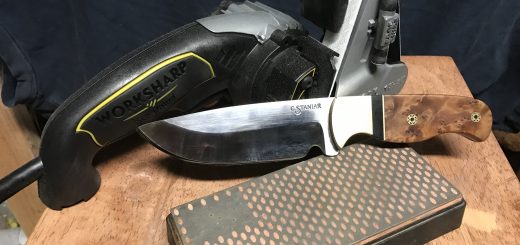
- Battery Charger – I use one of these. I think I got it at Walmart or something like that. It should be set to Maintenance Free Deep Cycle for the Battery Type and 2A (2 amp) for the Charge Rate. These lower settings keep it from messing up your logo template.

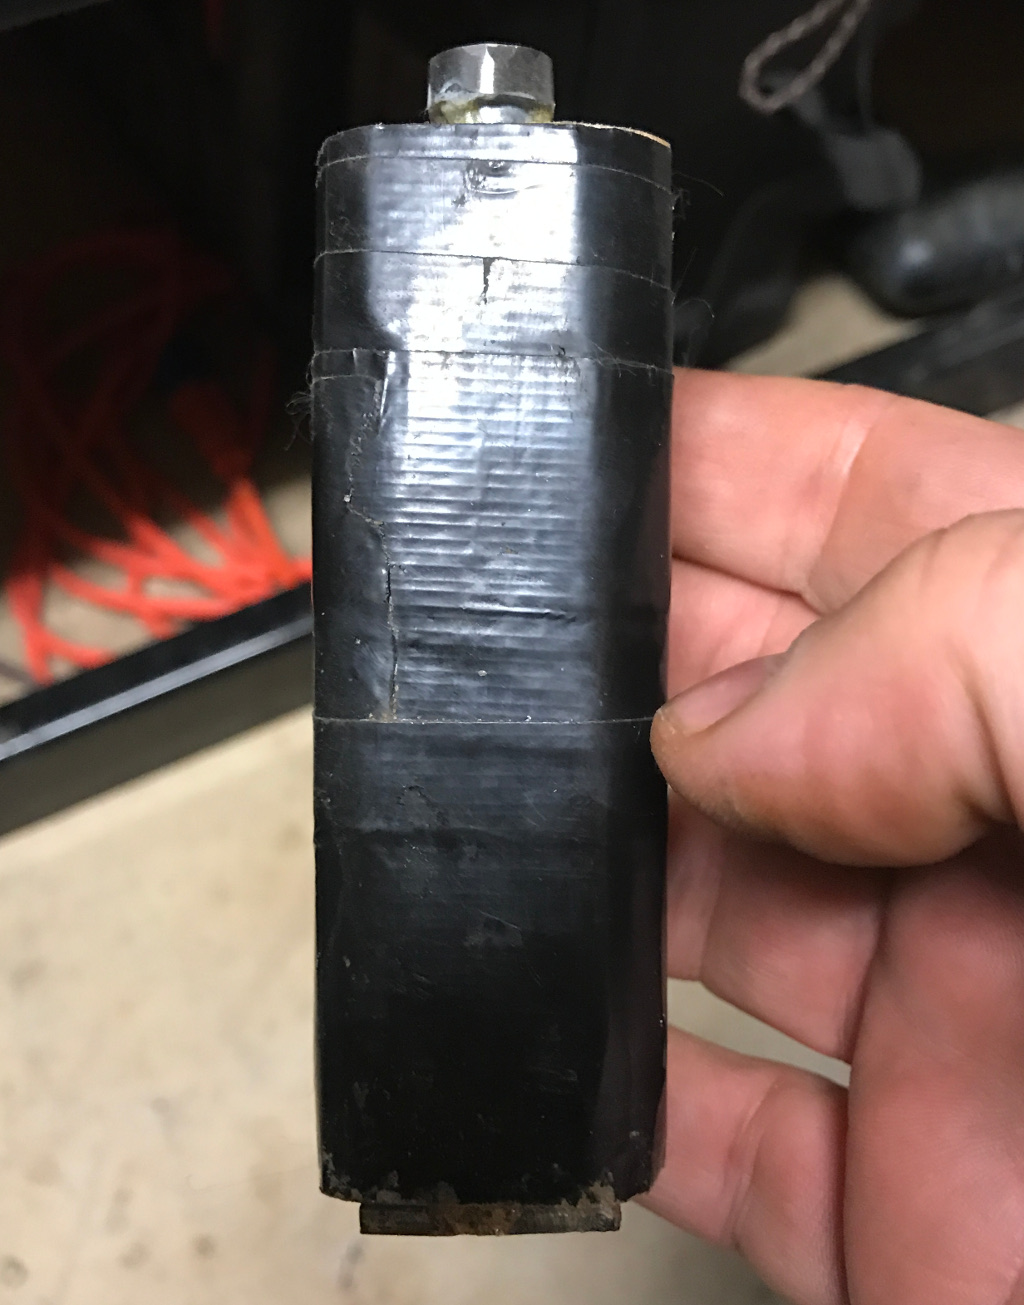
- Electrode Do-hicky – I made this from a piece of 2×4 (you could use a 2″ thick dowel), a 4″ bolt (not galvanized or cadmium), and a piece of flat mild steel.
- Knife Logo: Imprinted on a rubbery type of material. I got mine here: http://erniesknives.com/
- Saltwater: Etching solution – Just simple table salt in water. Add 3 tablespoons to about a cup of water and you should be good. Watch the video below for more info.

Making your Electrode
The electrode is what etches or adds your knife logo onto the metal of your knife. This is the hardest part of this process but it isn’t too hard. You’ll need a piece of 2×4 – 4″ long, a 4″ bolt (3/8″ is fine), 3/8″ drill bit, and a piece of flat mild steel.
- The first thing to do is to cut your 2×4. This will be the handle for your electrode so it needs to fit your hand. Take your 2×4 and cut it in half long ways.
- With a drill or drill press, drill a 3/8″ hole from the top to the bottom of the 2×4. You may need to widen the hole so the bolt slips in easily.
- Test fit your bolt in the handle. You will need to cut some of the 2×4 off so about a half inch to an inch of threaded bolt sticks out the bottom of the handle.
- Weld your piece of mild steel on the bottom of the threaded part of your bolt. The reason I specified no galvanized or cadmium bolts above is those are dangerous to weld. Better safe than sorry, when I weld things that look “shiney” I go weld outside and put a big fan right next to me and point it at what I’m welding.
Now you have a rough handle. I sanded mine round’ish and then wrapped it with black duct tape. Note how the top of the bolt sticks out about a half inch from the handle. This is where the negative cable from your charger will attach. I did mine slightly different than my instructions. Mainly because I didn’t have a 3/8″ bit. I had a bigger wood type of bit, so I welded the plate on first and then put the bolt in through the bigger hole. The bolt wobbled in the hole since it was too big, so to stabilize it I had to fill the hole with Gorilla Glue, but it works just fine this way.
When you etch your knife logo, you will need some felt to go over the flat plate. The felt absorbs the saltwater solution and makes the etching process work. You can get this at Walmart or a fabric store. It comes in various sizes. You will only need a piece about 1×3″ and it lasts a few times. I cut the size I need from my bigger piece and wrap it over the plate. I use a rubber band to hold it in place on the handle.
Once you have all your materials assembled you can practice on a scrap/messed up knife, etc. Take some acetone and wipe the area on your blade where you will be etching. This removes any grease and crud that may be there.
Cut out your logo from the sheet, leaving as much of the material around the logo as you can. Using scotch tape or the blue painters masking tape attach the logo to your knife. Make sure everything is straight and exactly where you want it. Then tape it in place. Be sure it is nice and tight and firmly taped to your knife, you don’t want it to move around.
Get your knife on a good flat surface where it can’t wobble, but be sure to account for having the battery charger clip attached to the knife. You’ll have to mess around with this to get things stable.
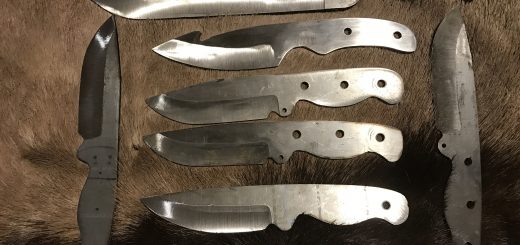
When I etch my knives I do it just after I’ve finished the bevels and cleaned up the blade. Not quite to a finished shine but close. I don’t put the handles or bolsters on before I’ve etched. In the video you’ll see he clamps the electrode to the blade of the knife that is finished – nice and shiny, scales attached. Since I haven’t done handles/bolsters yet I can clip to the handle rather than the blade and avoid scratches on my blade or messing up my scales, bolsters, or whatever with the etching process.
Now that you have things stable and the positive clip attached to your knife and the negative clip attached to your electrode, you’re ready to go. Dip your electrode in the saltwater solution and then dab it on a cloth. You want the felt to be damp but not dripping. Too much saltwater and it will etch in other areas.
Press the electrode to the area you want to etch, you will hear a “sizzle” sound. That is perfectly normal. Hold it in place for about 10 seconds then lift the electrode. Be sure to press evenly on all areas of your logo so you get a nice even etch. After you lift the electrode, take a clean rag and gently wipe the etching area to clean up the gunk that might be there. Repeat this about 7-10 times and you should be good to go!
White Bone Knives has a great tutorial on how to add a logo to your knife. I recommend watching this video!